Trash Stand V0.1
This guide is to make a very simple trash picking stand. This is meant to be out in the public, so anyone can help pick up trash. This is great for parks or community spaces that often get trash blown in, or litter ends up in communal areas. The build is very straightforward and simple.
Building
See the materials section for more details.
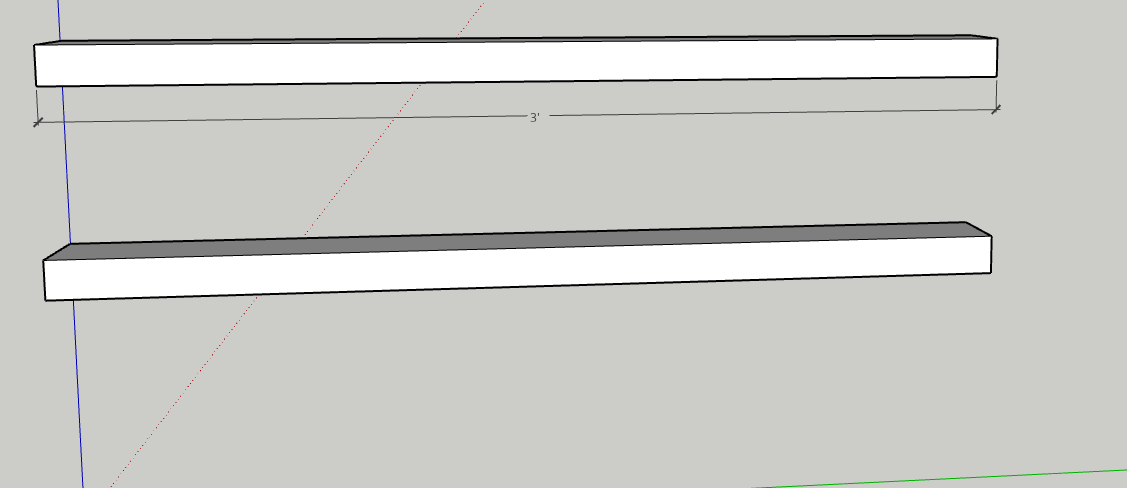
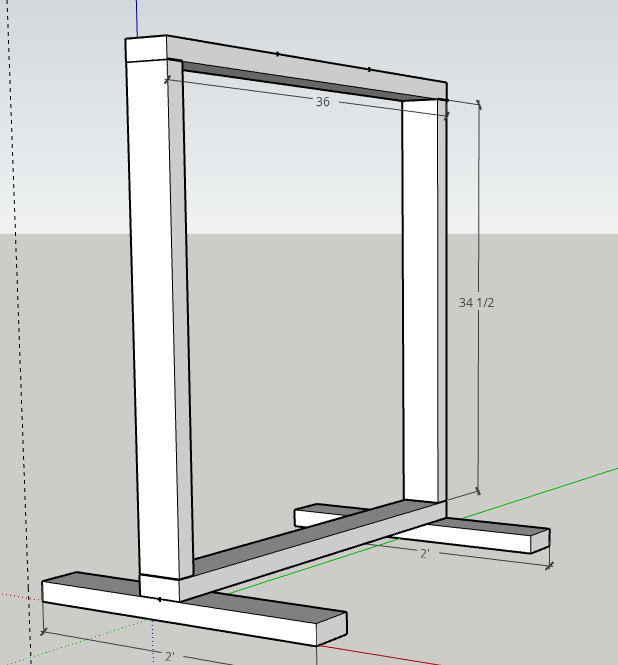
First, start by making the top and bottom of the stand by cutting your wood to 3 feet, or 36 inches. This length will allow for two buckets to rest in the stand. Feel free to expand these dimensions if your build requires more buckets and pickers.
Next cut the pieces for the sides. 34 1/2 Inches is a good height to allow for room to slide the buckets under the grabbers.
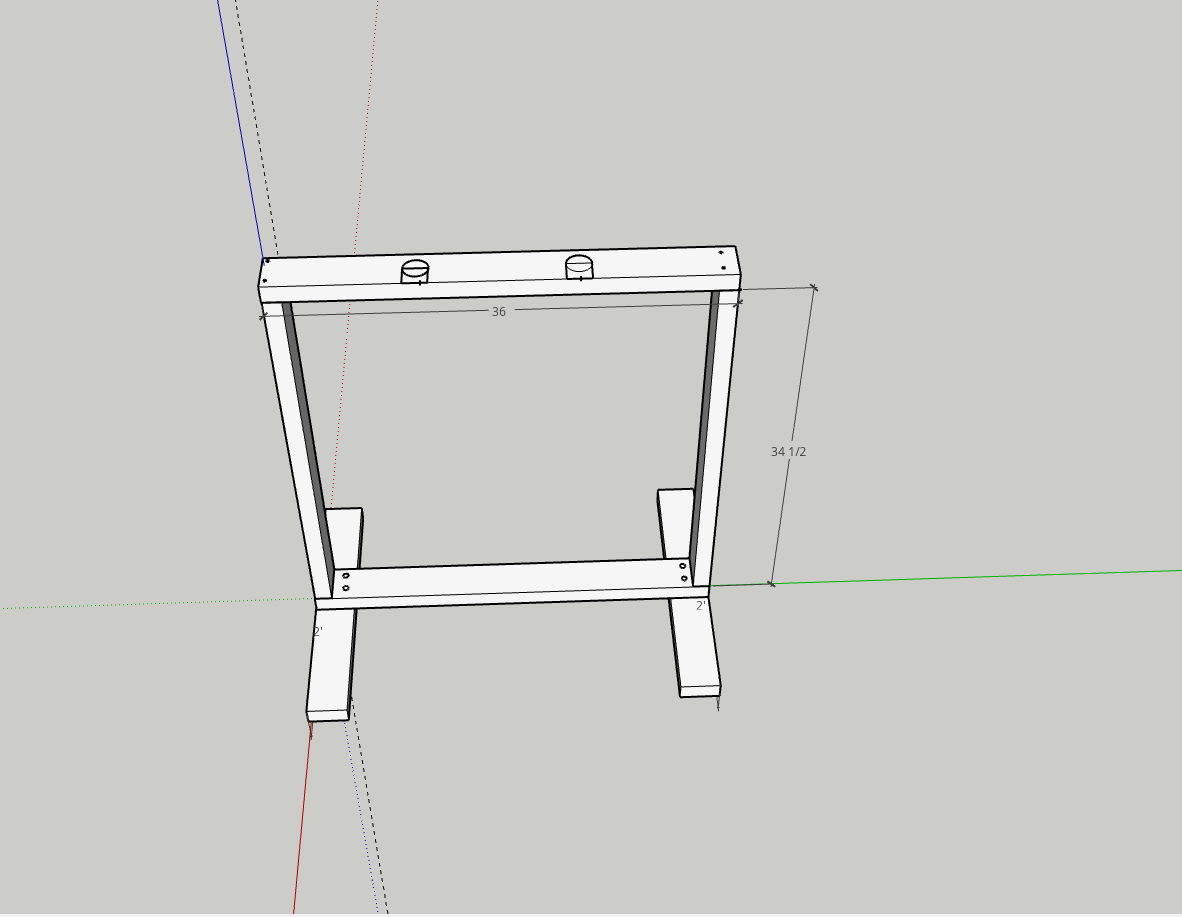
Start assembling the frame together in the orientation above. There are small circles to indicate where to add screws. Two screws are good enough to hold these together pretty well. Be sure that the sides and edges line up when screwing them together. A speed square can help, along with clamps or a buddy. Add two screws to each joint, ensuring your side pieces are wedged between the top and bottom, and not attached to the side.
Next, cut two pieces for the legs at 24 inches long. Center the frame on the legs, you can mark a midpoint of 12 inches and align the frame with that.
Screw the base to the legs by using two screws on each side. If you want a stand that folds flat for transport, you can use one screw as a pivot and move them into place. But it's easier to just screw two screws in and call it a day.
With a stable base, mark the location of the holes to be drilled. Marks at 12 and 24 inches will make them even on the frame. Then use a 11/2 or 11/4 drill pit, spade, forester bit, or hole saw bit to drill a hole at 12 and 24 inches.
Then mark a straight line from the edges of those freshly cut holes to the end of the frame. These parts can be cut out with a saw, a jigsaw works best, but any saw that you can safely use will work. A plunge cutting tool might also help.
You can now use a stain and a weatherproofing sealant like polyurethane or desk sealant. As long as the sealant is rated for outdoor use. You don't have to treat the wood but for longevity, it is best. From here it is recommended to add your latching bolts (for more info check out the materials section) where the grabbers slide out to keep them from blowing out of their slots in high winds. You can also use a super small bungee cord or some rope or something but the metal bolt latches work best and are super cheap.
The 3D model (.STL) can be downloaded here
Videos of the trash stand!
The first intro video


